It’s been a long time since I’ve put anything up in this category. Not because I haven’t had my little projects, but because over the last couple years, I’ve been focusing my time and effort more into metal working. It started with a small hobby mill from Harbor Freight, and then developed into something more advanced. Like a lot of mechanical engineers, one of my main jobs is to design complex parts for various things. These parts are usually made from metals such as aluminum and steel and are fabricated using advanced machines that operate under computer control.
Well, a few years back, I stumbled across some information on the web that talked about how you could convert a standard bench milling machine into a computer controlled (CNC) machine. Since then, this has been my obsession…to build my own CNC machine that will allow me to make some really neat stuff out of both wood and metal. In a way, I’m bringing what I do at work into my own garage, only now I’m the one doing everything from the design to the fabrication.
The only catch to all of this, and the reason why this has been over two years in the making, is because it’s expensive!! But I’ve been able to piece-meal it a little at a time, and now have finally got it up and running!!!
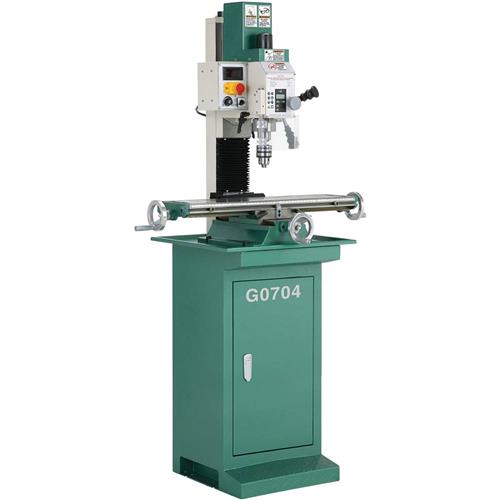
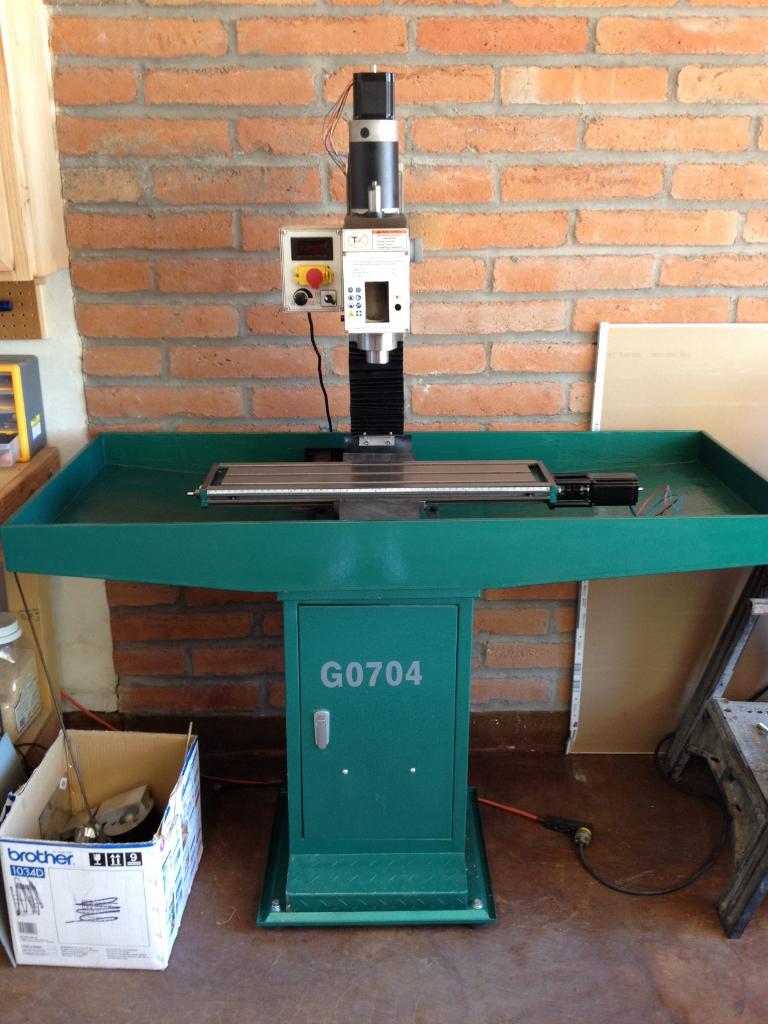
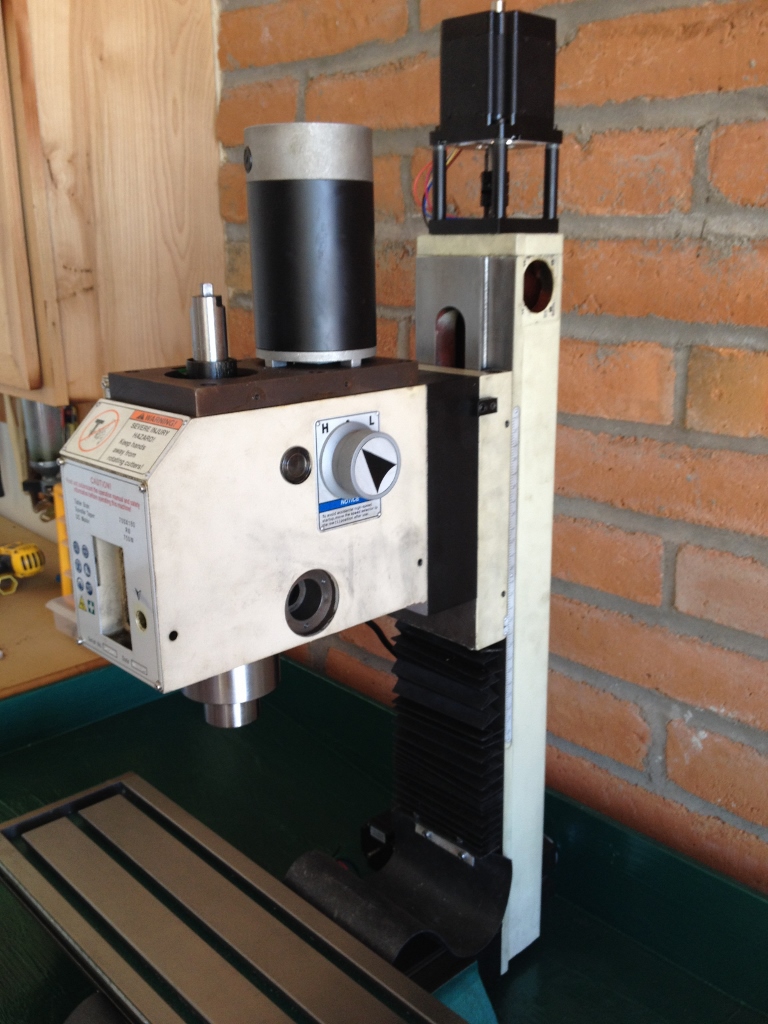
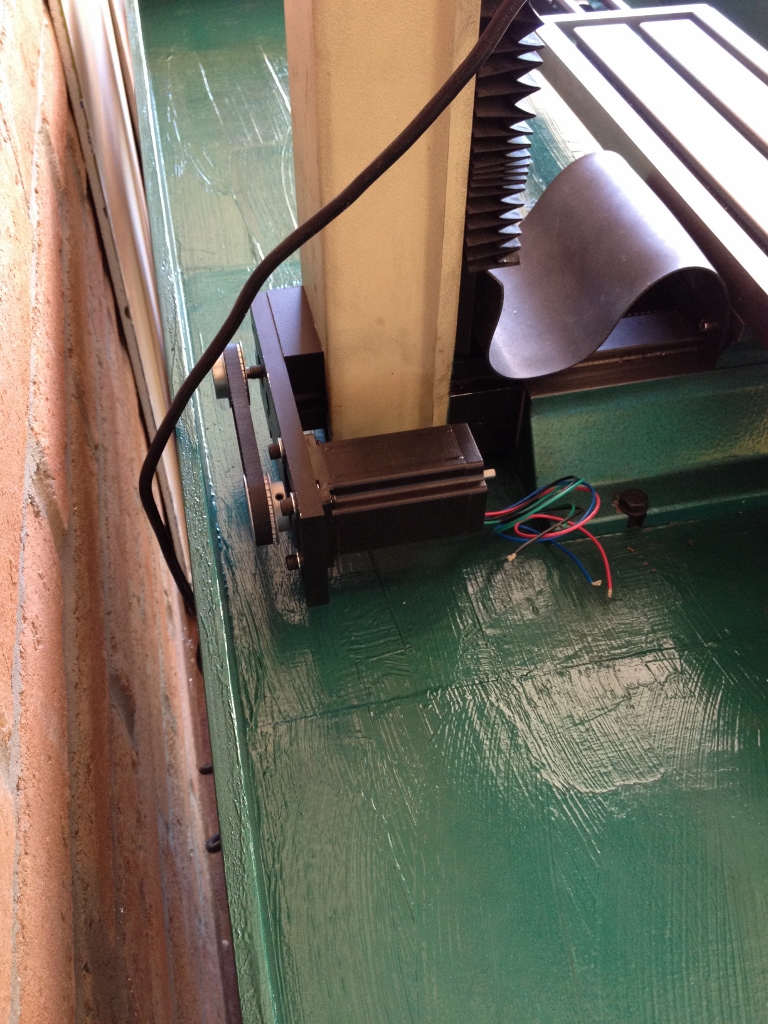
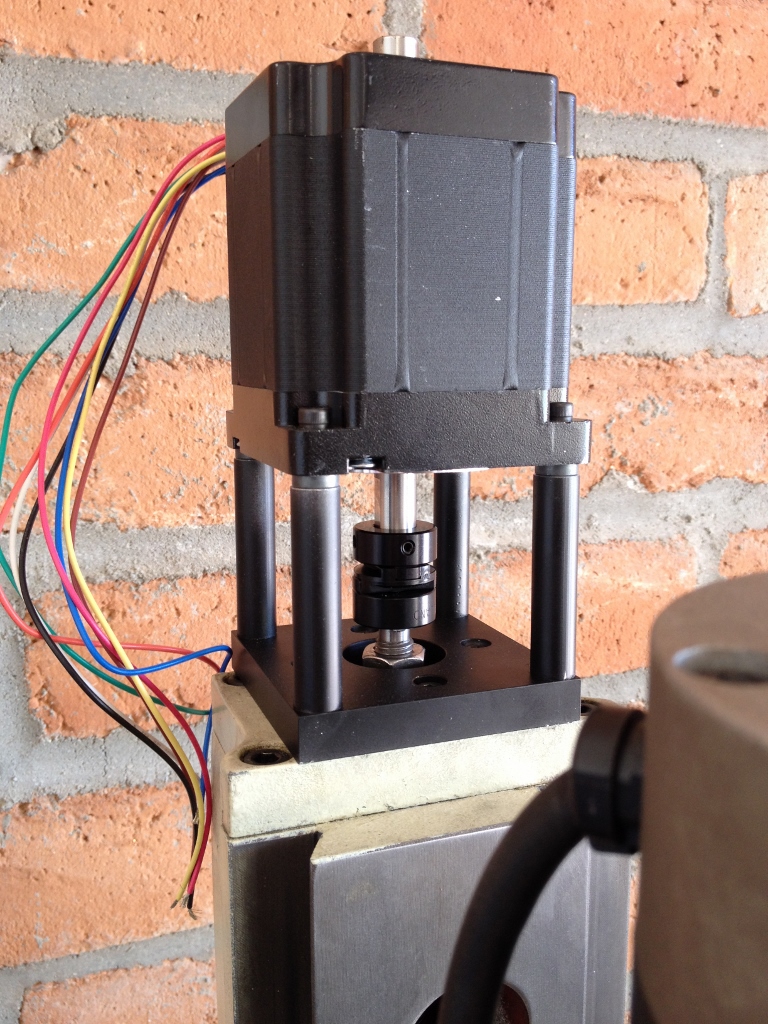
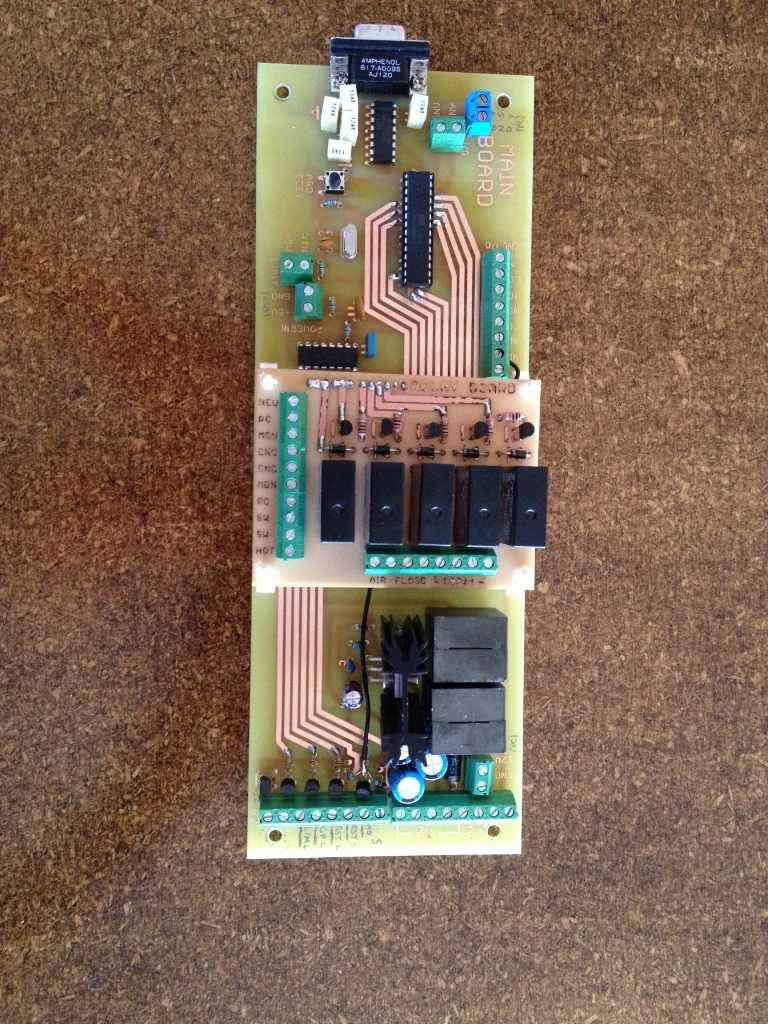
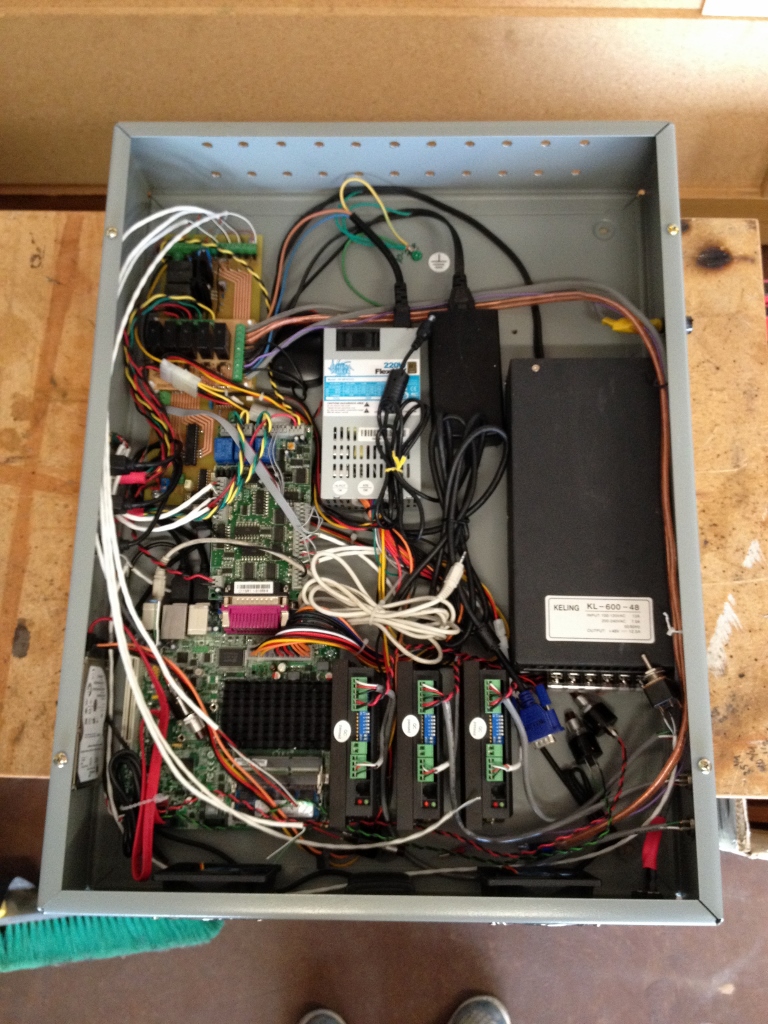
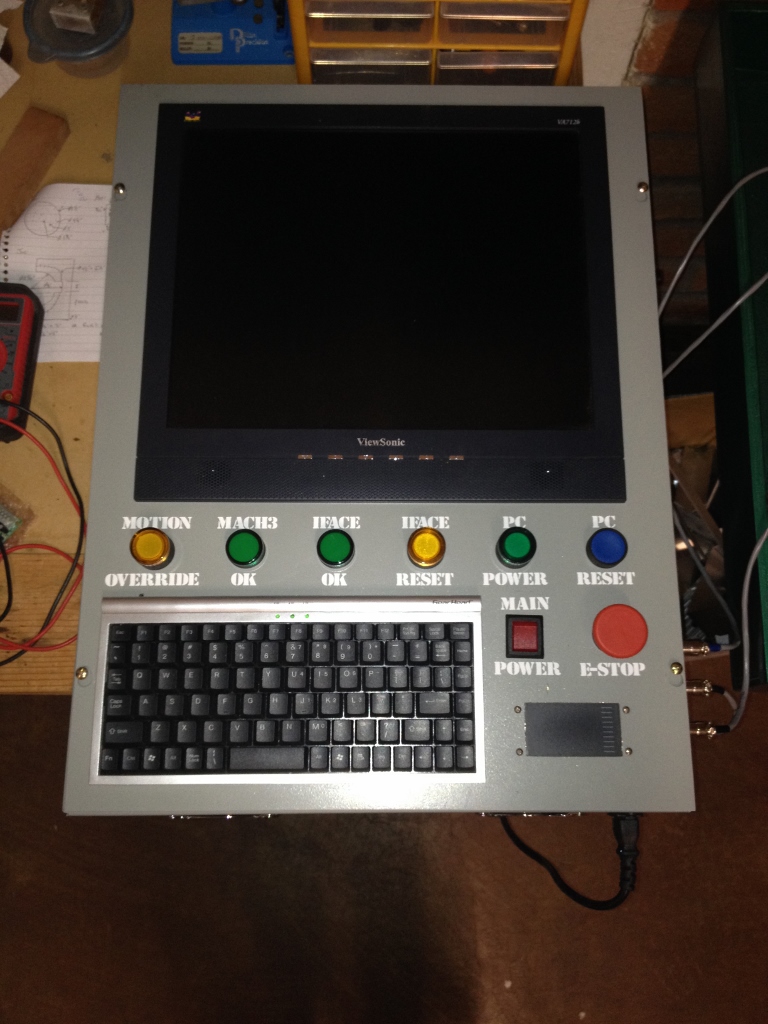
So given all that, it took me a few months to get everything wired up and working. I even got it set up to run manually using an old joystick that I didn’t need anymore. Maria about sh*t herself when I showed her how it worked for the first time!
To help motivate me to finish this project in a timely manner, as well as repay my wife for her patience as I spent hours and hours in the garage, I came up with an idea for the CNC’s maiden project: a 10 year anniversary gift for Maria. I didn’t want to do something too complex, as I wasn’t sure if the rig would work that well, so I decided upon a custom set of wood grips for her little Kimber 1911.
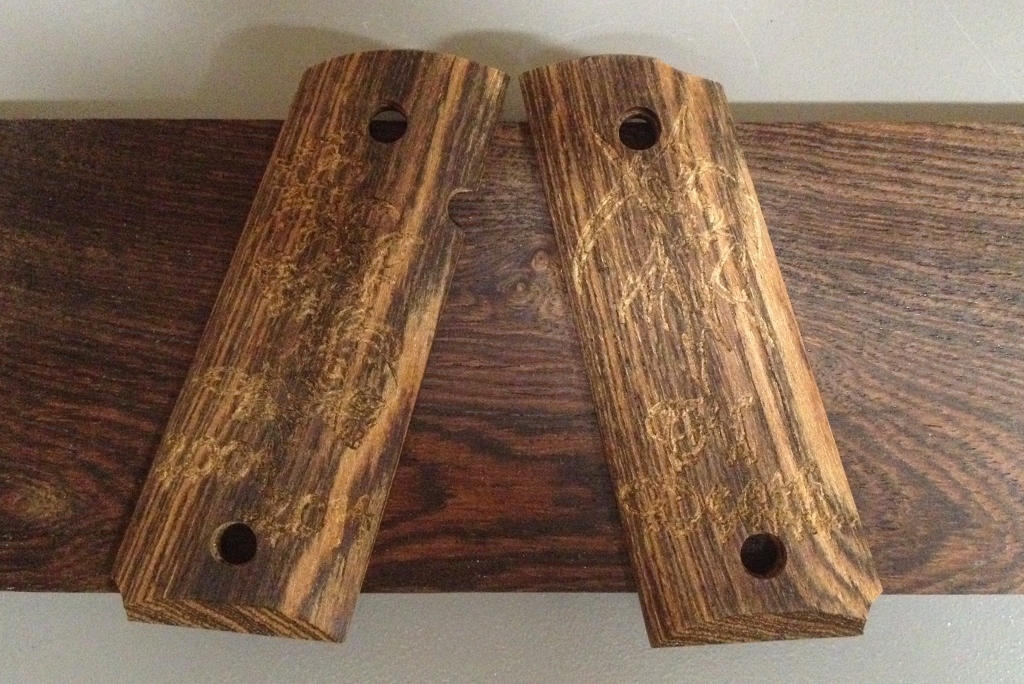
I based the design off of some grim reaper grips I had got for her a long time ago for a different pistol, and found some really cool graphics to engrave into the grips after they were carved out of the wood. I found a beautiful piece of tropical Bocote hardwood to use and decided to go for a white inlay on the engravings. All in all, they turned out pretty good, but being the perfectionist I am, I plan on redoing them again some time in the future…maybe for our 20th anniversary :)!
Here’s a time-lapse video of a test piece I did. The first step was a roughing-out of the general shape, followed by a fine cut of the rounded profile. Next, the mounting holes were drilled, followed by the engraving of the graphics.
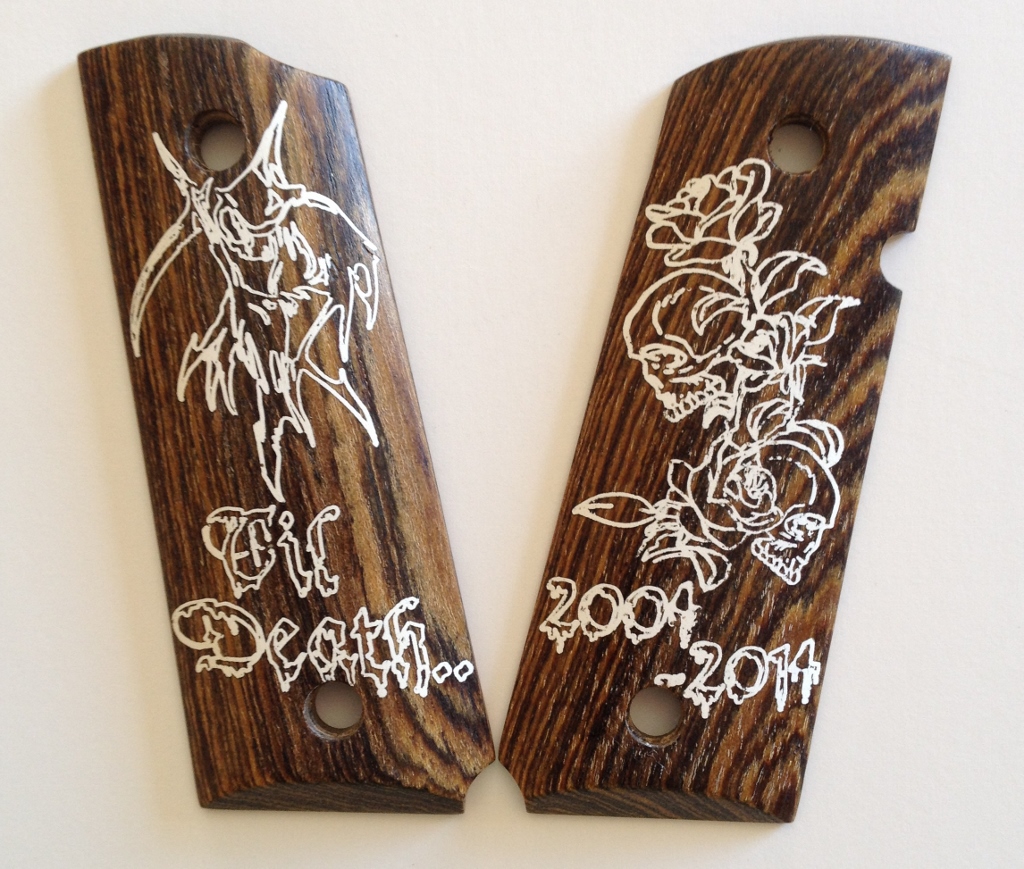
So all and all, it was a good project, and the CNC did great! I’m really excited about this rig and can’t wait to dive into some metal projects…stay tuned!!!
